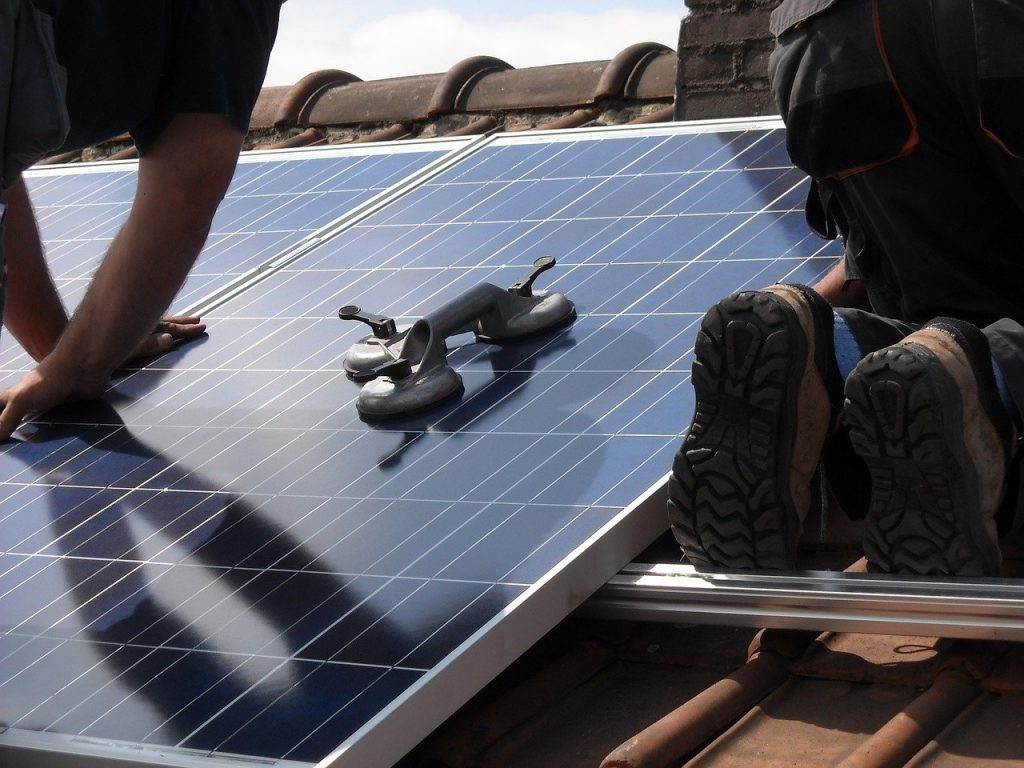
One of the best ways you can save money on RVing in Texas is to take advantage of the sun exposure and make solar panels work for you! You’ll also be able to camp reliably off the grid since you won’t have to rely on an electrical source, or have a backup power source in the event of bad weather. Putting solar panels on your new or used RV isn’t super difficult, and in our RV tips today, we’ll show you how. Read more below!

Disclaimer
The following RV tips for solar panel installation are to be considered as a general guide to the project mechanics only. Your safety should be your top priority, so if you don’t feel 100% confident with the job, our RV service department is just a phone call away.
Read the Manual. And Again.
Your solar kit will come with a manual and safety instructions. Read them through, then read them again. You’ll be working with electrically active components, and safety should come first, second, and third. Don’t touch any terminals or other active components while the panels are exposed to light, and use a drop cloth to cover them during installation to help prevent exposure. Don’t install them in the rain, and don’t ever step or sit on your solar panels.
Familiarize Yourself with the Solar Kit
Determine what kind of solar kit you have. The panels will be either rigid or flexible and these are mounted in different ways. You’ll want to locate the battery bank and know the kind of RV roof you have (rubber or fiberglass, flat or curved, etc.).
Why does the roof style matter? Great question! Flexible solar panels may be mounted with either screws or adhesive, while rigid panels are only mounted with screws. Believe it or not, it’s your RV’s roof material that determines what kind of adhesive you should use – which is why you need to know what kind of roof it is. If you have a flexible panel solar kit, it may or may not automatically include adhesive.
Next, lay out the solar panels to make sure the sizing fits. Mark the installation spots on the roof, and try to work around places where roof vents or air conditions may cast direct shadows on a nearby panel.
Install Hardware or Adhesive
This gets its own step: install the hardware or the adhesive (if you’re using it) onto the solar panel frame. Make absolute certain you’re attaching any hardware to the frame. If a screw goes through the actual panel, guess what! The prize is getting to replace the panel at full cost. It’s never fun to take an easy DIY project and instantly double your expense in it.
After you have the hardware attached to the frame, you can attach the panel to the roof. Now it’s time to run the wiring.
When I Grow Up…
If you ever said as a kid that you wanted to be an electrician when you grew up, now is your time to shine!
Run the power cable from the solar panel down into the RV. Attach it to the charge controller. The refrigerator vent is a great location for this unless the fridge vent is in a slide out – and in that case, using the plumbing pipe is also a good option. Avoid drilling an extra hole in your RV if you can, but if it’s absolutely unavoidable, make sure you use a weatherproof entry port or sealant to protect against future leaks.
Mount the charge controller – the closer to your batteries the better. Bring in the wires from the solar panels and use a multimeter to test the wire polarity. Remember that time we said safety first, second, and third? We meant it! Nobody should get 75% of the way finished with solar panel installation only to electrocute themselves at this point. Mark and identify the wires using electrical tape. Congratulate yourself for being so smart! Follow the instructions in your solar kit instructions to connect to the batteries and solar panels.
Need More Help?
We are a phone call away! If you still have questions about putting solar panels on your RV, we’re ready to help. We can assist you with an RV service appointment or talk you through installing the inverter in order to convert DC power from the solar panels to AC. We’d love to help you with any questions you may have, so contact us today!

