.png?modified=0524202213260912)
Proactive maintenance is an important part of RV ownership – and that includes taking care of the camper’s bathroom. We’ve gathered up the following tasks that should be a part of your RV bathroom maintenance routine.
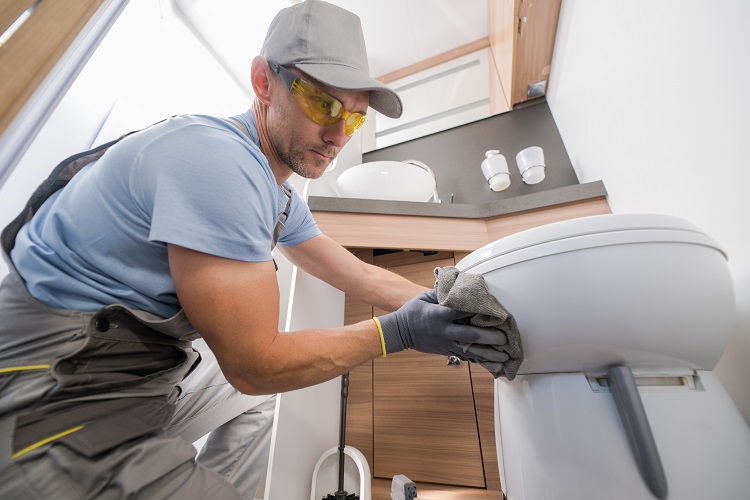
RV Toilet Maintenance
The camper’s toilet seal plays a crucial role in limiting odors and keeping water from leaking out. Over time, it can harden and become compromised. Eventually, it will cause problems and need to be replaced.
To prevent this, check the toilet seal before an RV trip. If you notice it beginning to harden, use plumber’s grease to reseal it.
During the road trip:
- Only flush items that the camper toilet can handle, such as dedicated RV toilet paper or one-ply toilet paper.
- Use camper-specific products to help dissolve waste and prevent odors.
Blackwater Tank Maintenance
The blackwater tank gets full over time and eventually needs to be emptied. But it’s important to empty it at the right time.
Empty it too late and you could face odors and back-ups. Empty it too soon and the waste may not have had enough time to break down and could lead to a difficult emptying process.
The ideal time to empty an RV blackwater tank is when it is between 2/3 and 3/4 full.
Be sure to:
- Find the RV campground’s dump station.
- Connect the tank valve to the dump station using a sewer hose.
- Wait for it to empty.
- Double check that you closed the tank valve.
- Consider using dedicated chemicals to sanitize the tank and prevent odors.
RV Shower Maintenance
Failure to keep up with camper shower maintenance can cause many issues from backups to mold growth.
Be sure to:
- Encourage each camper to wipe down the shower head and walls after they finish showering. This prevents soap and hard water buildup, which helps prevent related issues.
- Empty the gray water tank regularly, which prevents it from backing up into the shower drain.
- Deep clean the shower after each RV trip.
For more information or to explore RVs for sale, visit Ron Hoover Group. We are a dealership located in Texas.

